
 Russian
Quality 3D show on a PC
Play 3D games, watch 3D movies and photo on your computer. Device synchronizes 3D glasses with 3D players for computers and laptops. Many models of glasses are supported. Direct compatibility with NVIDIA 3D Vision stereo driver for PC games. If the your display is fast enough, the picture quality is better than IMAX 3D cinema.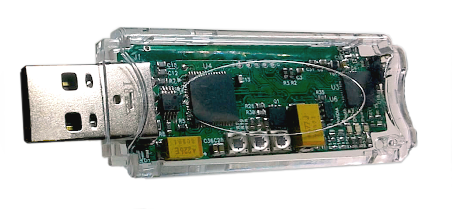

Key Benefits
The emitter synchronises the video image on the monitor screen with the switching side of the active shutter glasses. This results in a sufficiently high quality 3D image for a variety of monitor models and 3D glasses from different companies.The device is equipped with multiple quality settings and adaptation to different displays and computers. Unlike other emitters, ours you can customize for maximum image quality to your equipment. The device supports a wide range of frame rates. You can connect almost any model active 3D glasses by simply selecting a sync protocol from the list.
Allows you to use 2 different types of glasses at the same time. For example with Bluetooth synchronisation and IR synchronisation. You can flexibly adjust the image quality separately to the specific glasses model.
Parameters
| Frame Rate: | 75.. 255 FPS (Hz) |
| Types 3D glasses: | Active shutter SBS |
| Connection: | Bluetooth, IR Sync |
| Bluetooth: | 2.4GHz, 40Chn |
| IR Emitter: | 940nm, Pulse:18W |
| BT distance: | ~10 meters |
| IR distance: | ~3..8 meters |
| Operating system: | Windows only |
Сhoose Display
For perfect 3D viewing, it is recommended to use fast gaming displays with pixel response times of approximately 2 to 4ms. These displays will provide a bright image with minimal haloing or overlapping. Please refer to the technical specifications of your display online to verify this parameter. If the response time exceeds 10ms, image quality may suffer. However, the S3D driver offers adjustments to mitigate these issues. By adjusting the Left/Right Open and Left/Right Close sliders, ghosting can be minimized, although this may result in reduced brightness. You can restrict the opening time of the glasses side to see only fully rendered frame. The diagram below illustrates the functioning of these adjustments. To compensate for video latency in your display and ensure proper image alignment, utilize the Frame Offset control handle.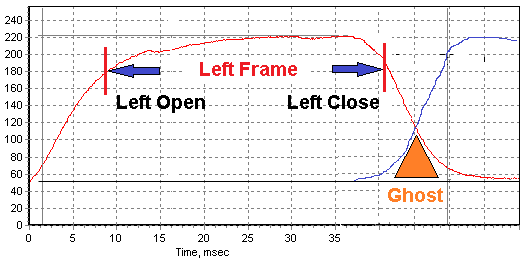
What is display response time
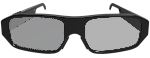
Сhoose Glasses
For a quality picture, your display and computer should provide a frame rate from 80 FPS or more.To ensure that the glasses fit your display, you should check that the polarization of the screen matches the polarization of the glasses. This depends on the angle at which the polarizing film is glued on the display and the glasses. The way to check is simple, look at your display screen through your glasses off, the screen should be clearly visible. If you turn it to either side, the image should darken. Many manufacturers do not keep the vertical polarization of the adhesive film and you will need to find glasses exactly for your display. If the polarisation does not match, you can re-glue the film on the glasses yourself to exactly match with display. This is not difficult.
How to check polarization matching
3D Glasses synchronisation protocols
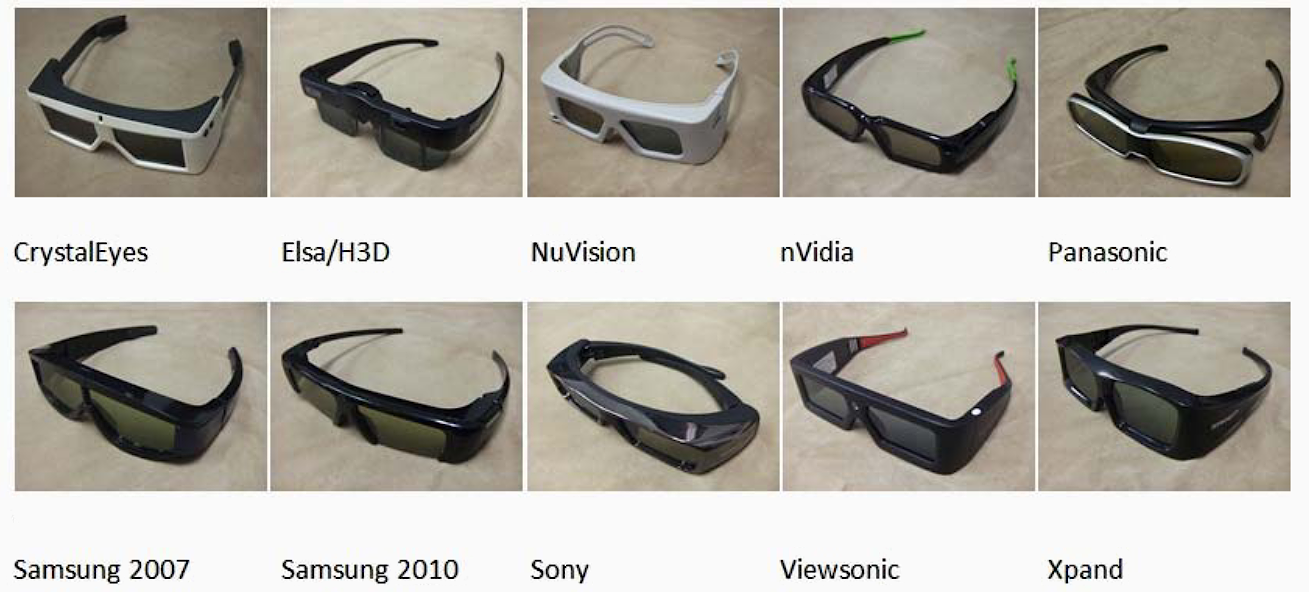
Different glasses are controlled by their proprietary synchronisation protocols. S3D Emitter supports the 12 most used ones. You can choose the one you need from the list. The emitter memorizes all settings that have been made. At the link you can see an large list of different Active Shutter glasses and check which synchronisation protocol they use.
List of worldwide releases 3D Glasses
Supported Protocols
To connect the glasses you want, open the S3D Settings tab in the S3D Player app. If you are using Bluetooth glasses, enable Bluetooth Transmitter and select the desired protocol.If you are using IR synchronized glasses, enable Infrared Transmitter and select the desired IR protocol. All settings will be saved inside the Emitter. This will also work when Emitter switching to NVIDIA mode.

| IR Synchronisation |
|---|
| 1. NVIDIA 3D Vision |
| 2. DLP Link™ Protocol |
| 3. Sony Protocol |
| 4. Sharp Protocol |
| 5. Xpand Protocol |
| 6. NuVision Protocol |
| 7. Panasonic Protocol |
| 8. CrystalEyes Protocol |
| 9. Samsung 2007 Protocol |
| 10. Samsung 2010 Protocol |
| 11. ELSA / H3D Protocol |
| Bluetooth Synchronisation |
|---|
| 12. S3D BLE Protocol |
| 13. *Samsung 2011 BT 3DTV |
Supported Glasses Models
If you do not find your glasses in the list of supported models. Please contact us. We will try to connect them.Glasses with BT synchronization:
S3D BluetoothGlasses with IR synchronization:
NVIDIA 3D VisionDLP Link Sony
Sharp Xpand Panasonic NuVision
Samsung SSG-2100AB
Samsung SSG-3100GB
Crystaleyes
Limitations
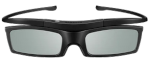
3D glasses from different companies have different frame rates. This emitter can work at anything from 50 to 255 Hz, but the glasses can`t. When you purchase 3D glasses, be sure to ask about the frame rate. This should match the FPS of your graphics card. Example: If your video card and display runs only up to 75Hz, the glasses should be able to work at that frequency. Typically, the operating interval of most 3D glasses is between: 100 - 144Hz. They will not work at 75Hz. Your graphics card and display must also support the 100 - 144Hz range. Be attentive.| Our S3D Glasses have the widest working FPS range, they are guaranteed to support all existing frame rates from 50 to 255 FPS. |
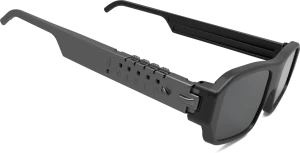 S3D Glasses
|
|
You can buy a S3D KIT with discount: Emitter + Glasses. This set will be immediately ready to use. |
|
Recommendation
The IR channel can give a significant pulsed emitting power. This can be adjusted in the control menu. For NVIDIA glasses, the range of stable operation can be up to 15 meters. Try to use the lowest magnitude that is sufficient for the operation of the glasses. Prolonged operation at higher powers will cause degradation of the IR LED. Do not overload them unnecessarily.3D Players
Use the S3D player to configure your video system for maximum quality. Then, you can use the compatible players that you are comfortable with.How to Connect
1. Install USB driverUSB driver
For easy installation, we use a digitally signed certified driver package for the Windows 32-bit or 64-bit. Use any appropriate for you. Another operating systems are not supported.
2. Install Microsoft DirectX-10
DirectX End-User Runtime
If you already have DirectX-10 installed, you can skip this point.
3. Download the App "S3D Player"
S3D Player for Windows
Read how to use the player.
4. Update the firmware
To make everything work properly, flash the latest firmware. The description of how to do it is below.
5. Installation and Сonfigurationt
Detailed Help
How to customize the system to fit your glasses.
6. NVIDIA 3D Gaming Integration
Detailed Help
How to connect the emitter to NVIDIA stereo driver.
Manual Control
For quick setting of operation modes, there are 3 buttons on the back of the S3D Emitter. The + and - buttons for directly fine-tuning the 3D image quality. The button NVIDIA - S3D quickly switches the type of driver being used. You can jump to NVIDIA 3D VISION mode or return to advanced S3D mode. The Emitter quickly reloads the communication drivers. S3D mode supports many more settings and is higher quality.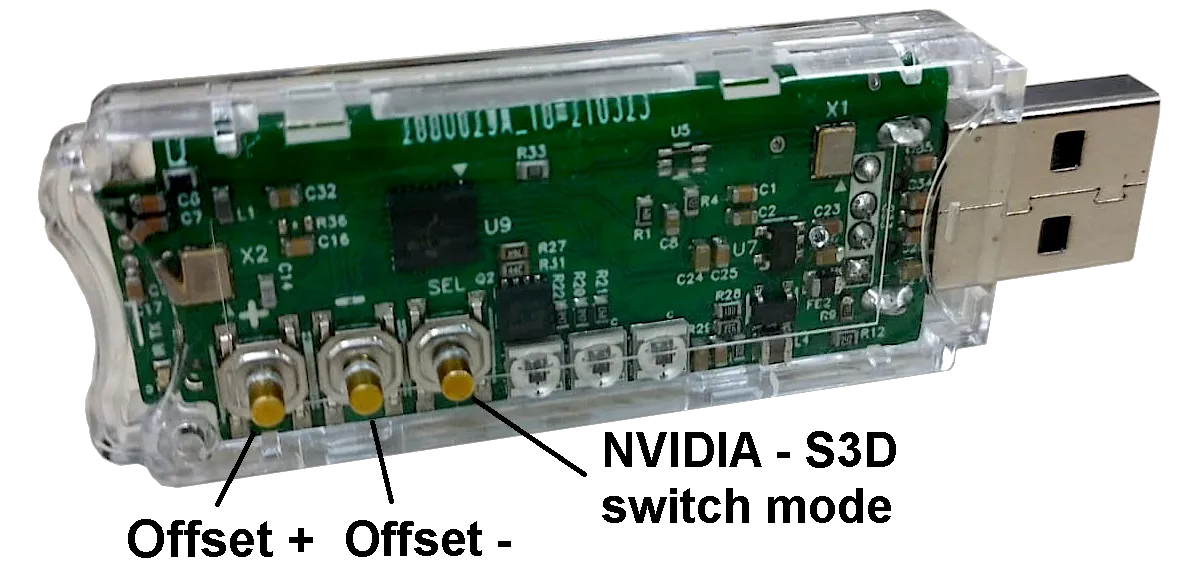
Firmware Update
The softwares inside S3D Emitter are very complex and there are still plenty of hidden bugs. We we periodically find and fix them, and improve functionality. For example add new features or additional protocols for new glasses. You can download the new firmware to the emitter yourself. Download the Firmware update files below. Use the DFU updater App to fill files to device.There are 2 files in the zip archive. The update for the main processor and the bluetooth mcu update. Download them sequentially to the emitter. If the bluetooth file not attached, then it does not need to be updated.
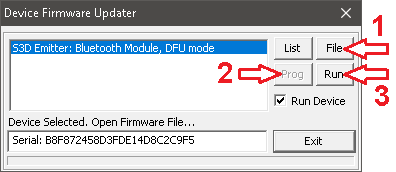
To update firmware do the following steps:
1. Close Player. Open DFU application
2. Disconnect the Emitter from the computer
3. Press and hold the "+" button for Bluetooth
3. Press and hold the "-" button for Main cpu
4. Plug the Emitter into the USB port
5. Click the line with the module name
6. Select the firmware by the File button
7. Press the Prog button and wait for done
8. Launch new firmware by clicking Run
Downloads
Windows driver:
USB driver
Firmware update: 31 March 2024
Emitter update files
Update utility:
DFU App
USB driver
Firmware update: 31 March 2024
Emitter update files
Update utility:
DFU App
Singapore 2024


